Introduction #
Before you begin unboxing your printer, please read the following instructions below. Failure to follow instructions could result in damage to your printer. If you’re stuck on anything or have questions, feel free to ask our community in the forums or contact us. We’re always here to help.
Pre-cautions #
WARNING: The Delta Go 3D Printer generates high temperatures and includes moving parts that can cause injury. Never reach inside your 3D Printer while it is in operation. Always allow the 3D Printer to cool down before reaching inside.
WARNING: Do not leave your 3D Printer unattended while it is printing, especially around young children or pets.
CAUTION: In case of emergency disconnect power supply from wall socket.
CAUTION: The socket outlet must be located near the equipment and must be easily accessible.
FIRE HAZARD: The Delta Go has an automatic safety shutoff, which will halt the printer and turn off the heater if it takes more than 60 seconds for the heater to reach the target temperature. This prevents the heater from continuously increasing the temperature if the thermistor is not in contact with the heater.
Make sure the thermistor does not fall out of the hotend’s nozzle. If it does, the printer will think that the hotend is cold and proceed to keep increasing the temperature, which could lead to a runaway hotend. To make sure it does not fall out, always keep the red sleeve on the hotend’s heater so it holds the thermistor inside and do not pull on the thermistor wires that go into the nozzle.
Step 1 – Unboxing #
As you unbox your printer, please check to make sure that everything arrived with your printer.
1 x Delta Go 3D Printer
1 x Sample of 1.75mm PLA
1 x USB cable
1 x 4GB Class 6 MicroSD Card with adapter (the MicroSD will already be inserted on the side of the printer)
1 x Power supply
1 x Extra blue tape
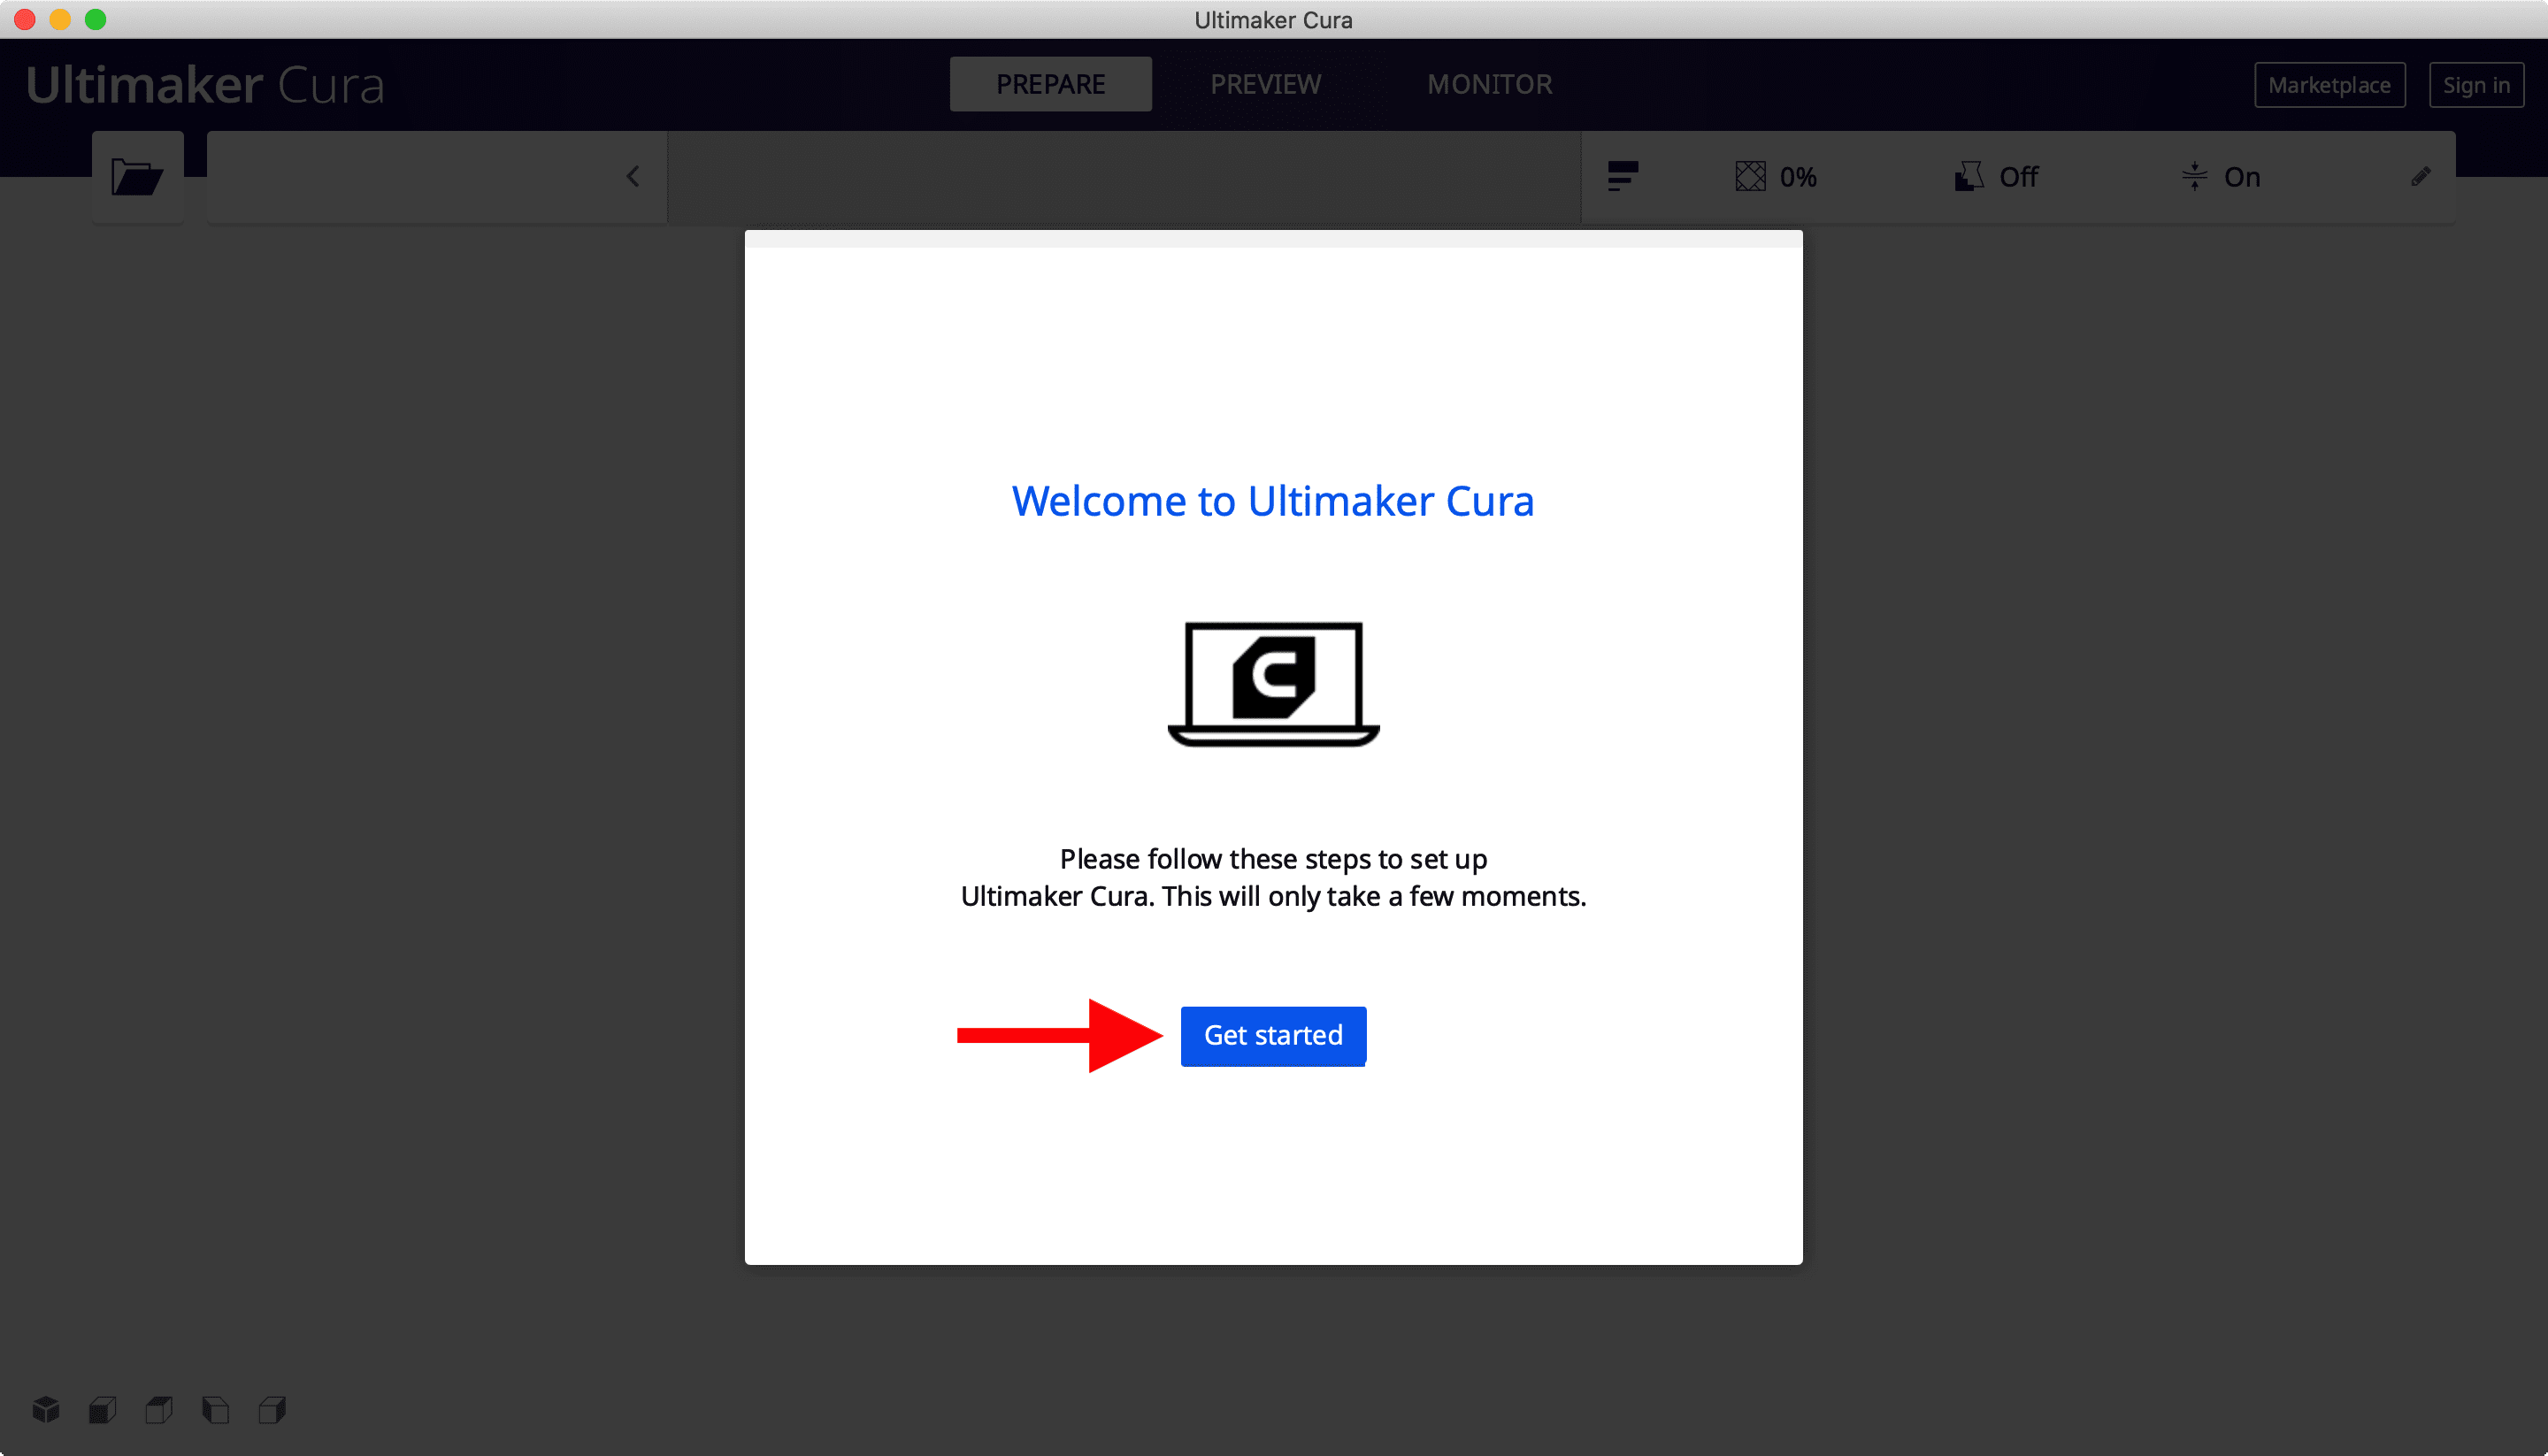
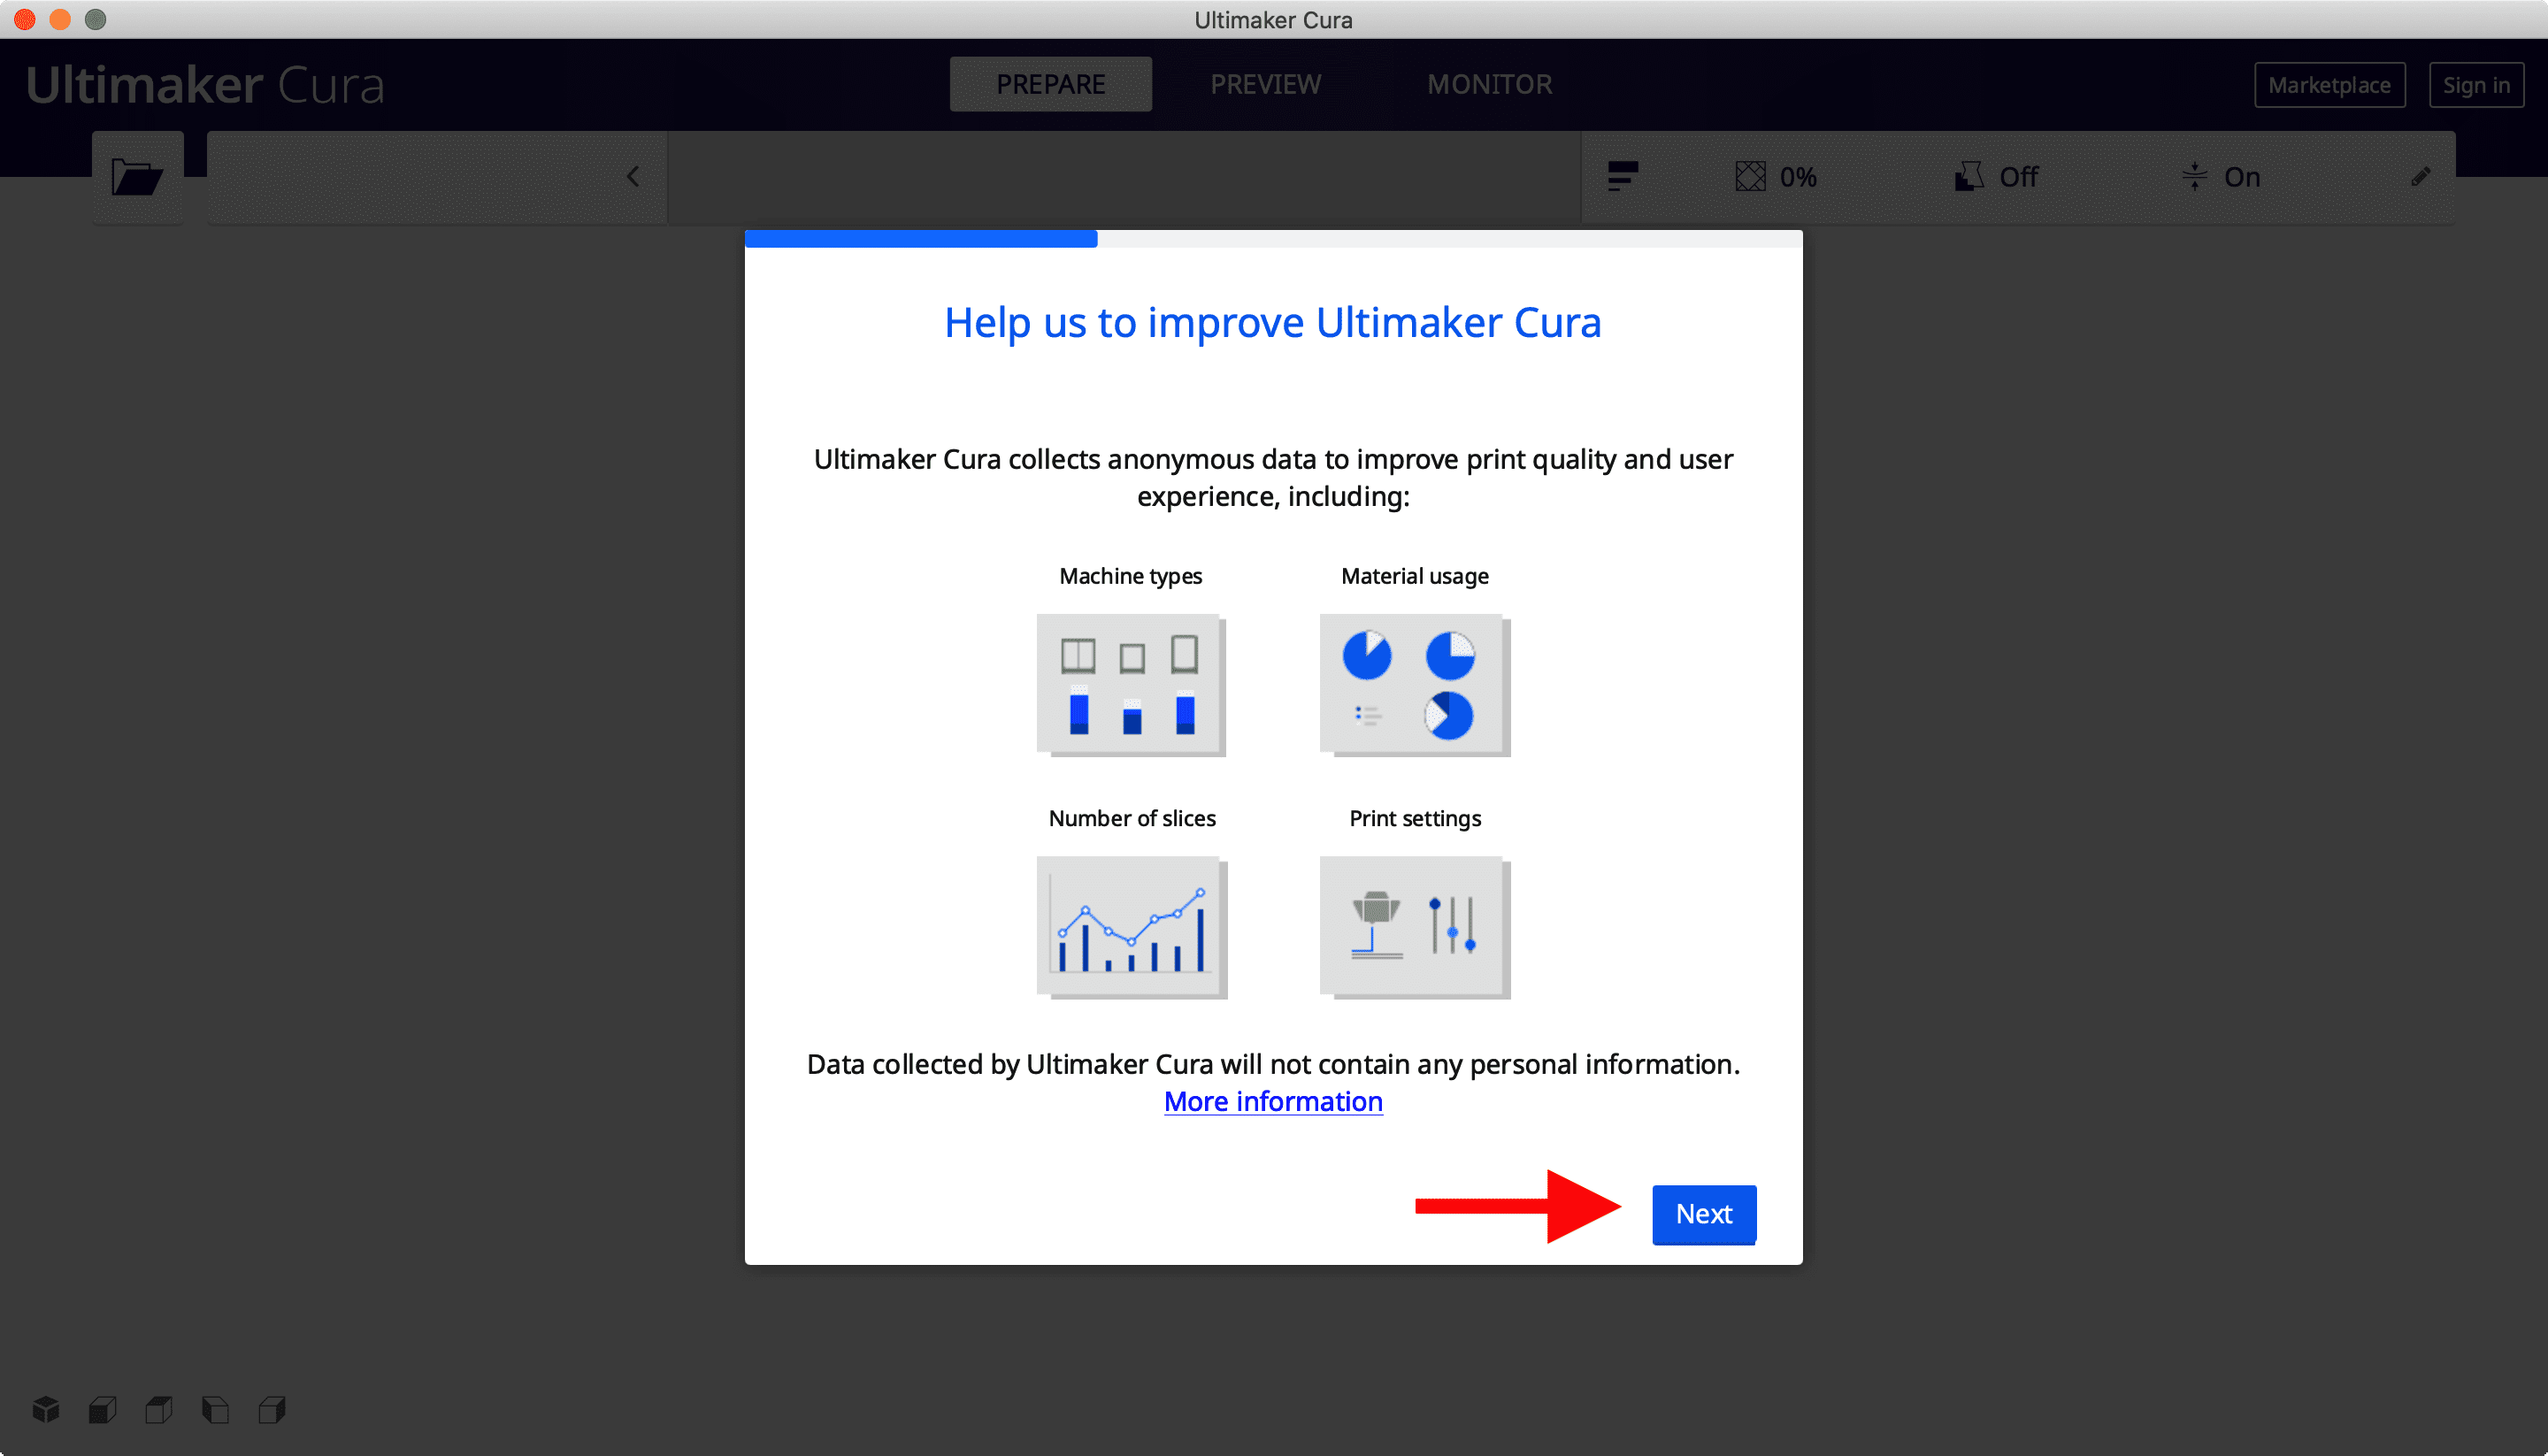
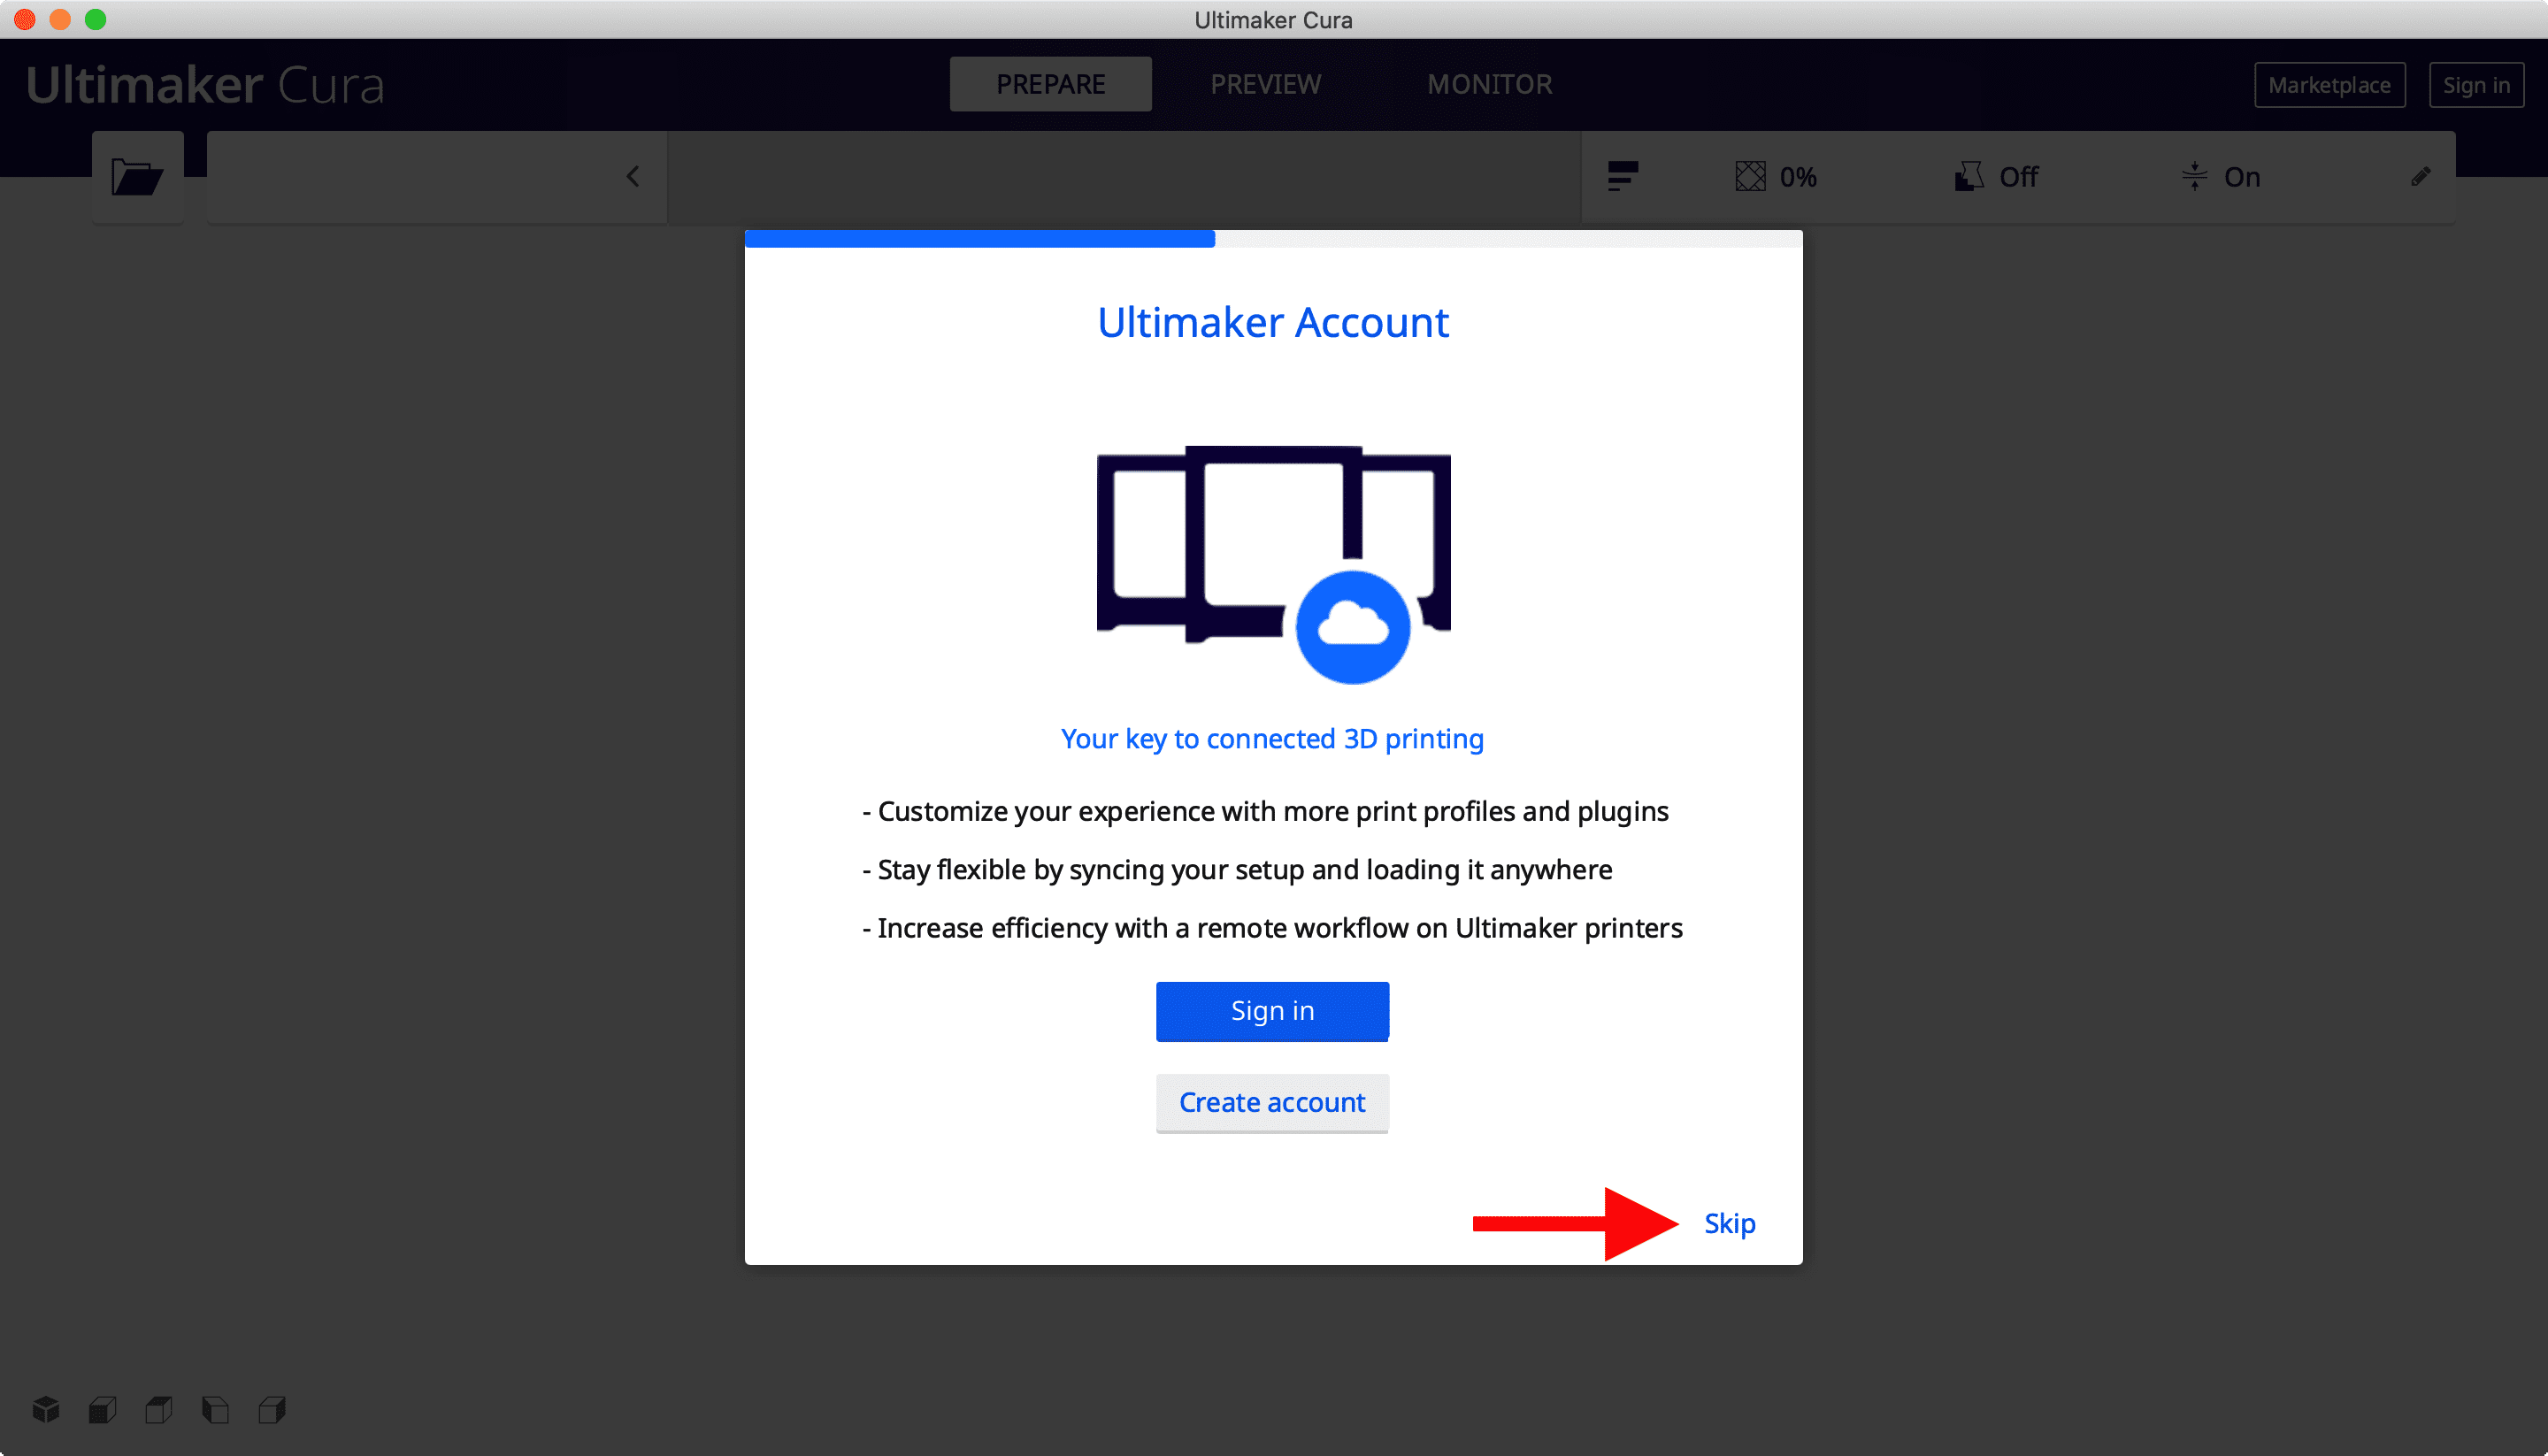
Step 2 – Install Cura #
Now that your printer is set up, we’ll go ahead and install the Cura software. This is the software you will use to prepare your 3D models for printing. Download the version for your operating system and follow the screenshots below to install the software.
MAC DOWNLOAD
WINDOWS DOWNLOAD
LINUX DOWNLOAD
Tip: Take a moment to disable the “sleep” settings on your computer. This will help you to avoid frustration later on. If your computer goes to sleep while printing via USB connection, the print will halt and fail.

Step 3 – Calibration #
Calibration instructions
Step 4 – First Print #
After your auto-calibration finished and the lights turned green, re-plug the power to your printer to restart it. Heat up your hotend to 200 Celsius by typing in 199 into the Pronterface temperature setting and clicking the up arrow key to change it from 199 to 200. When you click the up arrow key, it will activate the heater on the hotend to reach the desired temperature. The hotend should heat up in under a minute and your lights will change from blue to red.
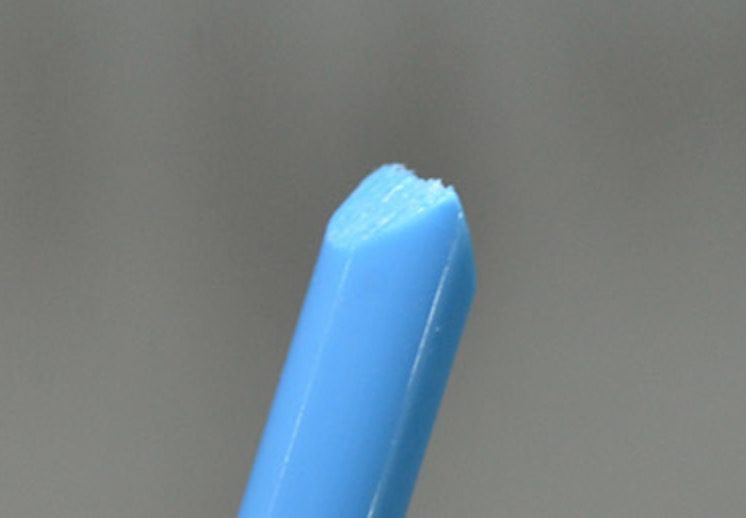
Next, take the sample of filament that came with your printer and cut the end at a sharp angle so as to make loading the filament easier. Push down on the extruder lever with one hand (just a bit to release tension, not all the way down) and insert the end of the filament from the left side of the extruder (into the small hole) using the other hand. Push the orange filament all the way up through the tube and into the hotend until you see plastic coming out the nozzle. You may see a different color coming out at first since we test your printer at our factory before shipping it. Once you see filament start to ooze out the nozzle, use the Cura software commands to push the rest of the filament as shown in the screenshot on the right until you see orange filament start to come out.
Tip: If you’re having difficulties pushing the filament through the extruder and into the tube, try fiddling with the extruder lever a bit. You can also try cutting the tip of the filament from both sides so that the tip is in the shape of a cone. The sharper the tip of the filament, the easier it will be to load it into the tube.
Make sure your filament can also easily feed into the printer and doesn’t get tangled or bent sharply.
Important Information #
Unmount SD Card – When copying files to the Micro SD card using the included adapter, always be sure to eject the card before removing it from your computer. Otherwise you risk the possibility of corrupting your MicroSD card or the files on it, which may cause your printer to malfunction.
The MicroSD card must be inserted into the Delta Go when using it, as it contains the firmware and settings for the printer.
Printing speed vs. temperature – In order to get good printing results, remember that printing speed and temperature are interdependent. If you increase the speed, temperature must also be increased and vise versa. There are however limits for both. We have included the table below as a guide for when you print with PLA filament. Note that this is an approximation and minor adjustments may need to be made depending on your filament material, quality and supplier. We do not recommend printing faster than 60mm/sec until you have used your printer for at least a month to get familiar with it. Printing higher than 60mm/sec will result in poor quality prints and may jam your hotend.
| Speed (mm/sec) | Temperature (Celsius) |
| 30 | 190-210 |
| 40 | 210-220 |
| 60 | 220-225 |
Blue painters tape – We highly recommend you use our custom blue painters tape. We’ve custom engineered this tape to work with our 3D printers. Warped parts can cause print failures as explained in our print troubleshooting guide.
Also make sure that when you lay down the tape on the Delta Go’s bed that there are no bubbles under the tape. If you use cheap blue painter’s tape this will happen and cause the first layer to not print flat and possibly start peeling off the bed. You can re-use the blue tape for multiple prints, just make sure to lightly press it back down on the bed again after you pull off a print (since the force of pulling off a print will also pull the tape up) and wipe it with alcohol again in preparation for a new print.
Printing from SD Card – You can also print from the SD card (rather than using USB cable) by saving the prints onto it. This is our preferred method as printing from a computer can sometimes be risky! What if your computer falls asleep or crashes? The print will fail! Or you may also want to move your laptop away from the printer eventually. Printing from SD card is handy when you’re doing long prints. There are two ways to do this:
a) Save the file onto the SD card inside the ‘Prints’ folder. We recommend saving it in this folder to keep it separate from the main config files so you don’t accidentally overwrite them or delete them. Then you can open up Pronterface and type in the command input field @play /sd/Prints/FILENAME.gcode where FILENAME is the name of your gcode file. Note that upper/lower case is sensitive. Wait until the first layer starts printing before un-mounting the MicroSD card and disconnecting the USB cable from the printer. If you disconnect before it starts printing, you may cause the printer to stop working and will have to restart the print.
b) There is a shorter way to do it also. You can save the file in the root folder of your SD card (not in the Prints folder, outside of it) and name it on_boot.gcode. Now whenever you plug in the power supply to your printer and power it up, the print will automatically start. Make sure you’re ready for it to start before you power up!


