Now that you have your Delta Go 3D printer, you’ll probably want to get a few extra tools to help you touch up your prints or to help you do any maintenance on your machine. Below are a few useful tools to help you touch up your prints and maintenance of your machine. Always use tools with caution, especially if they’re sharp.

Tweezers #
Tweezers are probably the most useful tool when it comes to 3D printing. It allows you to clean the plastic from the hotend while the nozzle is hot so you don’t burn your fingers. It’s also helpful sometimes in cleaning up prints to remove any strings that were left after the print. We recommend getting tweezers with a sharp/thin point.
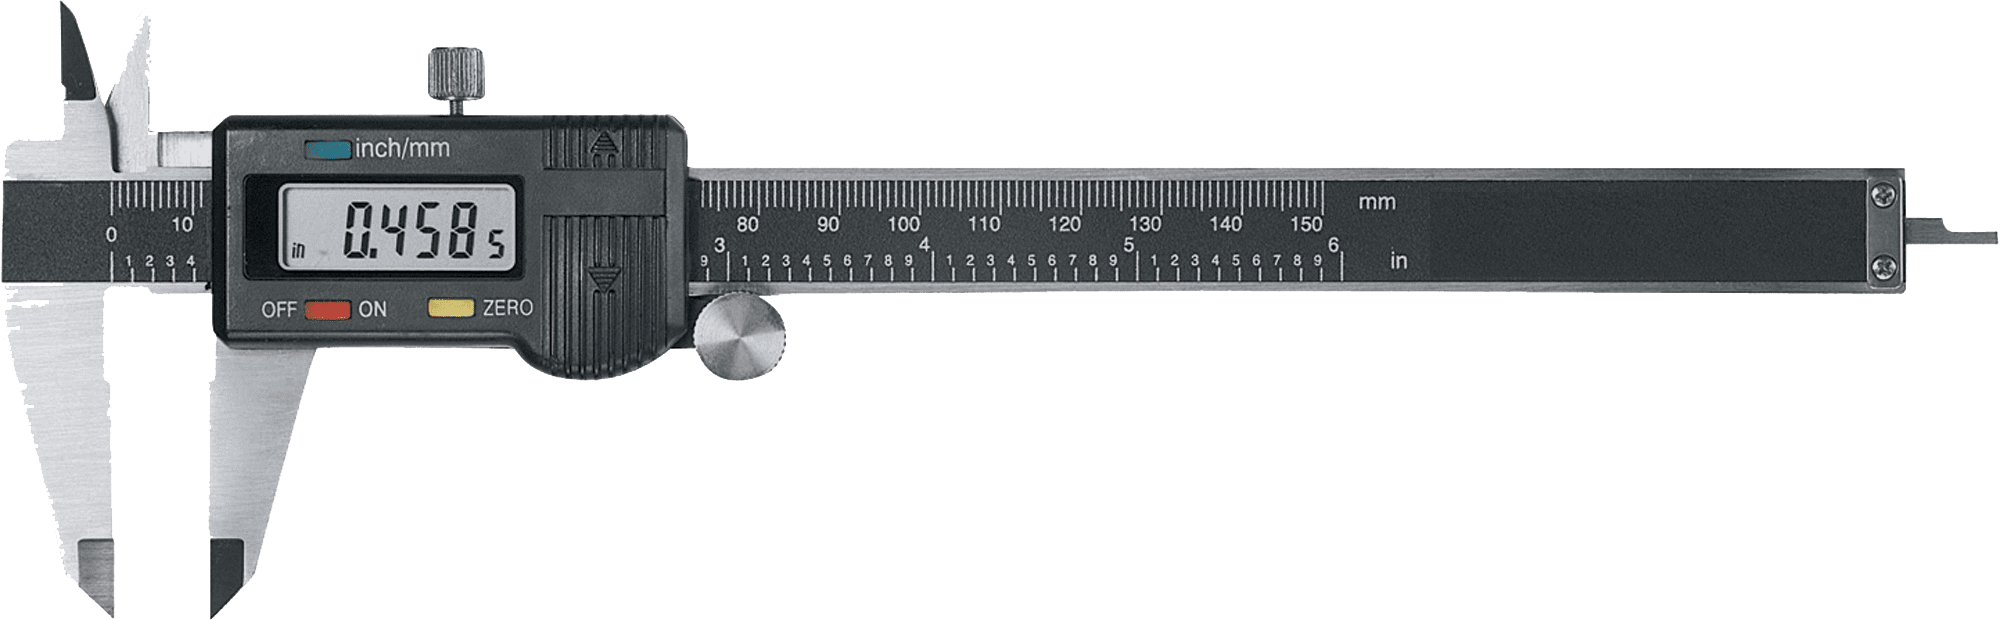
Calipers #
Setting the correct filament diameter in Cura can be the difference between a good print and a bad print. Use digital calipers to measure the diameter of your filament so you can then input the correct measurement in your settings. Also useful for measuring printed parts. And don’t forget that everything in 3D printing is done in metric, not imperial units!

T10 Screwdriver #
Most of the screws on the Delta Go 3D Printer are T10 screws. If you ever need to unscrew something (although you should probably contact us first!) you’ll need a T10 screwdriver. Make sure you only use this and not try and substitute a different type of screw driver, otherwise you may damage the screw and you won’t be able to get it out.
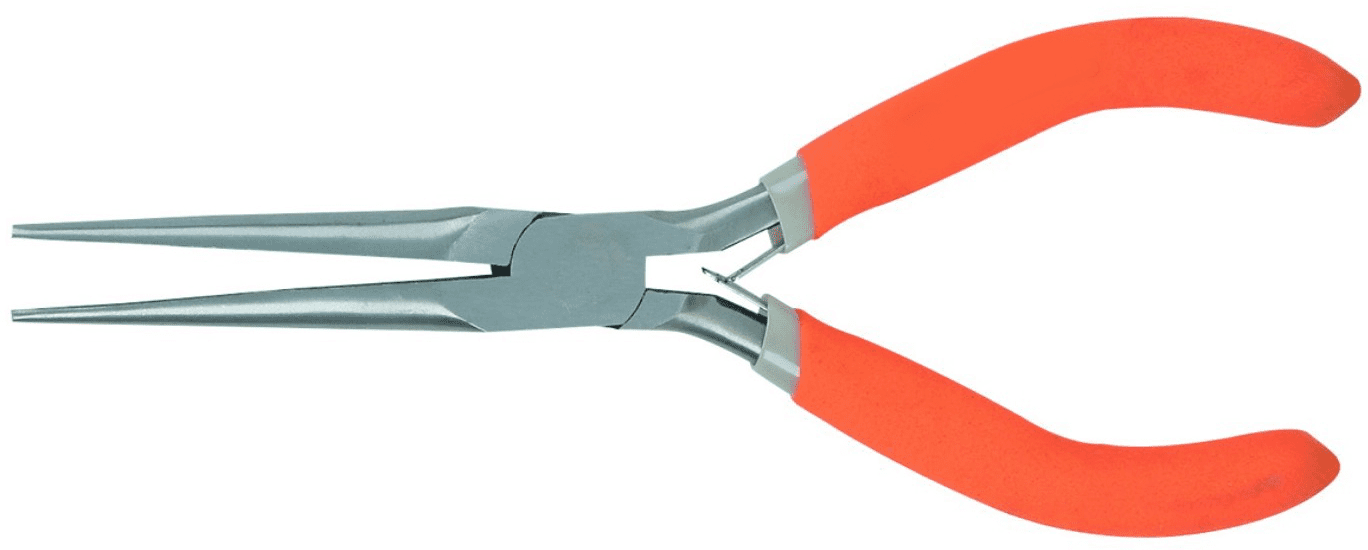
Needle Pliers #
Needle pliers are great for grabbing and removing those hard to reach supports on your print.
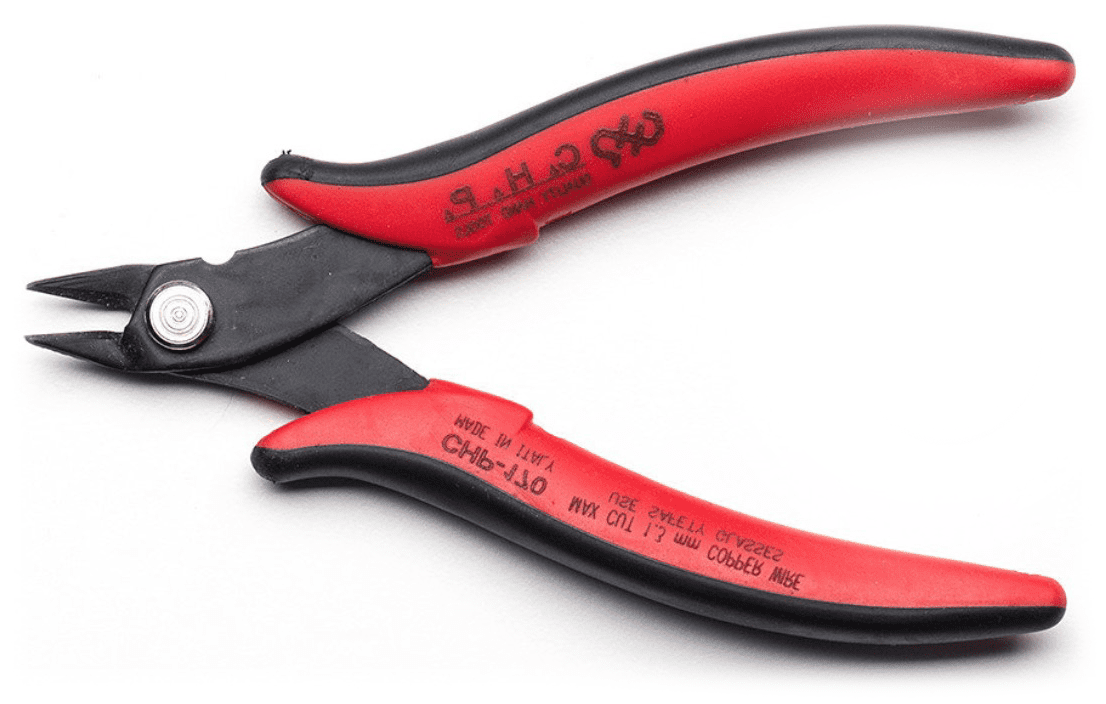
Side cutters/Flush cutters #
Flush cutters are probably the tool we use most to remove strings and supports from prints during post processing. With flush cutters you can get nice and close to the actual print without damaging it. They also come in handy to cut the tip of the filament before inserting it into the extruder.

Deburring Tool #
You will usually get what’s called an “elephant foot” at the bottom of your print. This is due to the first layer being slightly more squished than the rest, resulting in the plastic being pushed out and becoming slightly bigger than its’ true dimension.
Also if you have enabled the brim option, you will be left with slightly ugly edges after ripping off the brim.
This tool can be used to remove that thin excess of plastic and create a nice clean edge to your print. The great thing about these compared to using a knife is that they follow the edge on their own due to the shape of the blade and because the blade can swivel around in the handle. This means that you create a much cleaner and consistent cut whereas knives tend to dig in randomly and create an ugly edge.
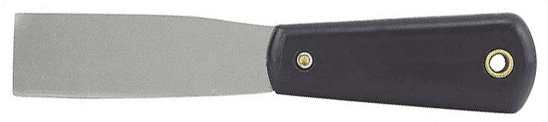
Putty knife #
This is a great tool for removing prints from the bed. If the bottom of your print did not warp, then there’s a good chance that it’ll be harder to pop off the print bed (a good problem to have). Using a putty knife, you can pry it off the bed. Just be careful not to rip the tape or scratch the aluminum bed. Be patient as you pry the plastic piece off the bed and be careful not to hurt yourself!


